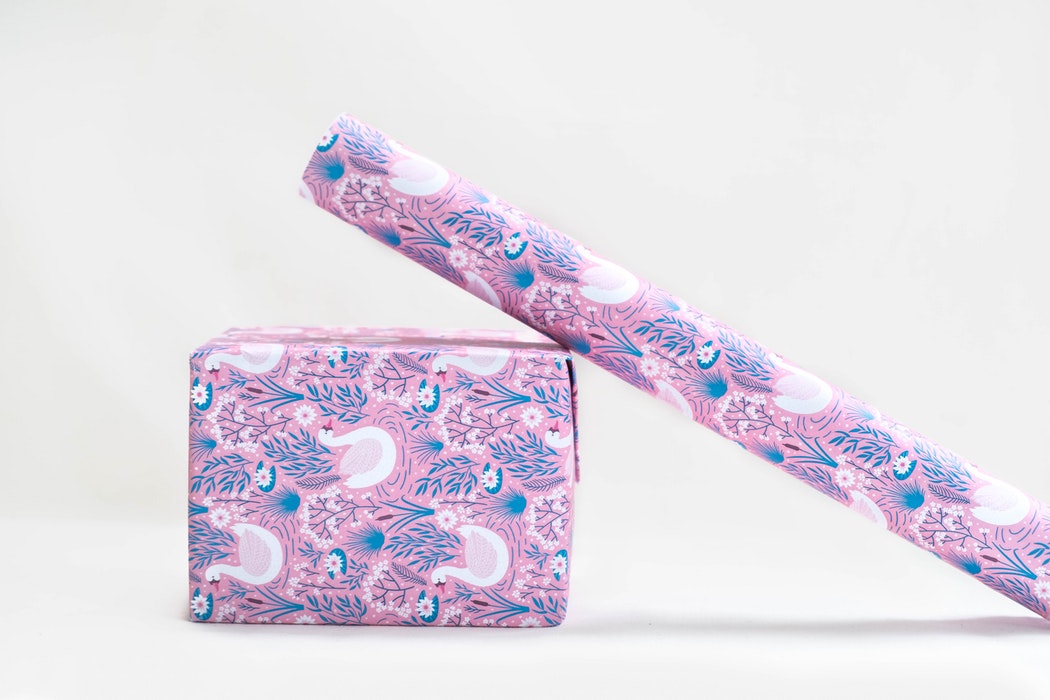
It always feels nice when you give someone a present. Some gifts can be simple and small but show immense affection and gratitude. The most exciting moment is the look on your loved one’s face when unwrapping your gift. They are usually tensed and anxious to find out what’s inside and therefore you should surprise them with it.
However, other than gift wrapping, there are other ways you can present gifts to your loved ones. You can come up with some do it yourself (DIY) crafts (Common Cents Mom has tons of great ideas) to put in your gifts. You can mould these crafts and make ideal gift bags.
Materials you need to make gift bags include;
- Ribbon
- Scissors
- Rectangle hole punch
- Tape
- Wrapping paper or brown craft paper
The following steps will guide you in making the perfect gift bag:
- Lay down your wrapping paper on a flat surface and place your gift on top of it. Make sure you use plenty of wrapping paper to finish off the gift’s exterior neatly. Cut the wrapping paper according to your measurements making sure it is rectangular.
- In case you used brown craft paper or plain paper, you’ll need to decorate it. Here, you can add your flair depending on what you think is appropriate. The plain paper will look more like a gift bag upon decorating.
- Place the paper in landscape orientation then Fold the top edge down 1 to 2 inches. Run your fingers along to sharpen the fold.
- Turn the paper so that the folded edge is on your working space. Fold the narrow edges towards the centre in a triangular shape. Secure these edges with tape.
- Fold the same bottom edge up. The measurement of this fold will determine the base of your gift bag. So, fold it according to how many inches you want your base.
- Open up this fold and flatten the top part upward. You can run your finger through to flatten it. The shape you’re looking out for is a diamond-like shape.
- Fold the bottom and top parts of this diamond-like shape towards the centre of the base and tape them together.
- Using the rectangular punch, punch two holes on either side of the bag to make holes for the ribbons. They should be at least half an inch from the top of the bag and should be close to each other.
- Cut the ribbons and insert them in the holes tying them tight enough, so they don’t come off. Choose ribbons that have colours that adequately complement your gift bag. Avoid using thin ribbons so that the knots hold inside the bag.
- Open up the bag and fold the sides, so it is rectangular and does not look like an oval-shaped sack. Your bag is now ready for use.
Conclusion
Making a gift bag is fun, but it is also exhausting, especially if you don’t have the right tools. Visit The Works’ website, and you will get the best deals for a variety of gift bags that best suits your preferences.
