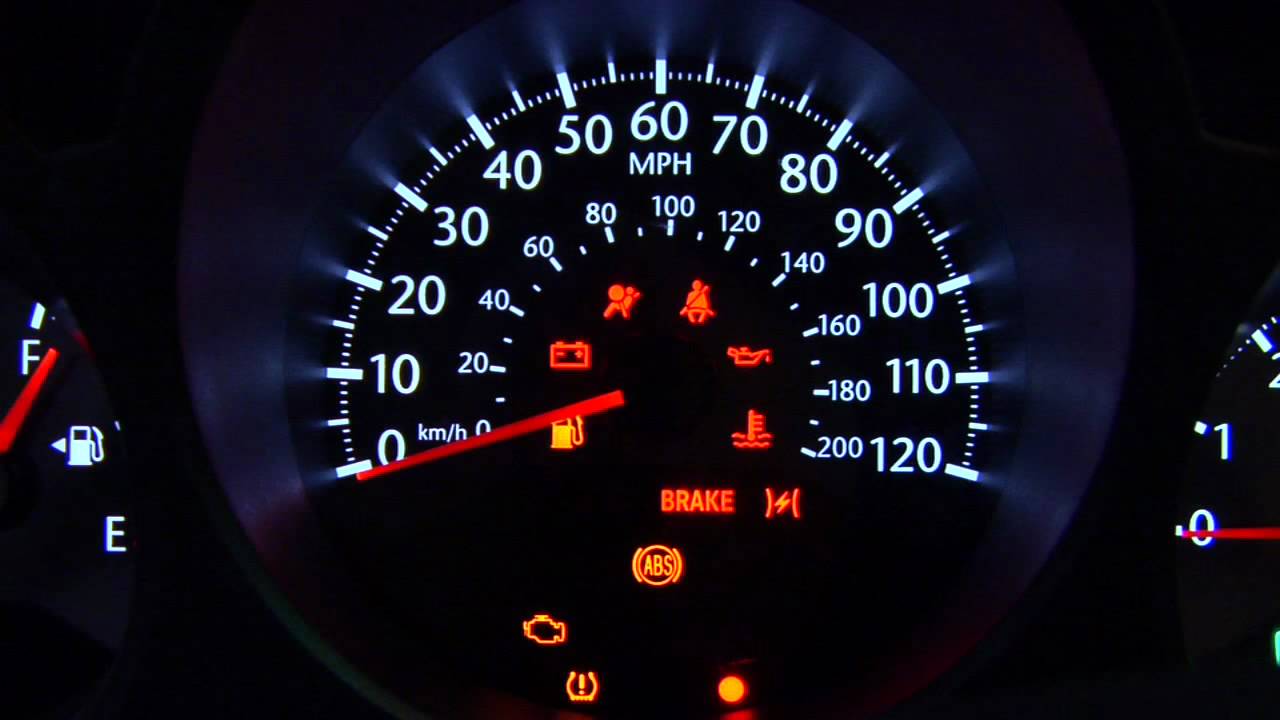
The lights on your dash serve as important indicators of your vehicle’s health, and decoding them is important to your success with automotive maintenance. Some lights serve as warnings that parts are malfunctioning, others tell you when there are indicators something is wrong that go beyond a single part, like overheating. While the exact choice of lights is different from vehicle to vehicle, most cars have a few of them in common.
- Oil pressure warning lights
- Battery indicators
- Brake pressure warnings
- Check Engine
- Wiper fluid reservoir low warning lights
- High temperature warnings
There are a few other dashboard lights you might have on certain vehicles, but most of the time these are the ones you can count on finding in an unfamiliar vehicle. They represent the core warning lights that give you feedback about most of your vehicle systems. When those lights burn out, it robs you of a chance to stop the car immediately when things start to go wrong. That can lead to both long-term part damage and short-term catastrophic mechanical failures, depending on exactly what is wrong.
How to Replace Your Dashboard Lights
Most dashboard lighting arrays are accessible with just a couple of screw removals. You might also need to pull your radio to access them, depending on your car, but many modern car stereos are built to be easily removed and replaced with custom equipment. The key is to locate the dash trim screws holding the trim panel on. Once these are removed, most trim panels can be pulled off, allowing you to remove the instrument cluster and change its bulbs. The light bulbs themselves are typically plug and play, a lot like your headlight bulbs. Once you are done, just set everything back in place and screw the trim down. It’s an easy fix that doesn’t take more than a few minutes, and there are a lot of amateur tutorial videos out there to help people who need a more visual approach to learning.
It’s easiest to do these fast replacements together, which is why many people group them with DIY oil changes, wiper replacements, and other tasks that have to be regularly repeated to keep the vehicle in the best possible condition. Let’s talk about how to make another quick maintenance job easier so you can save time as you run through everything after your next vehicle inspection.
Tips on Windshield Wiper Replacement
If you don’t know your windshield wipers size, you can find it on the old wiper blades themselves in most cases. Many brands print the exact size in embossed or engraved letters on the product, usually near where the blades attach to the blade arms. Even if the size is not listed, there is usually a part number that will yield the size of the blade when you look it up. Another option is to call the dealership or to check the owner’s manual for the vehicle, both of which are reliable. Once you have the right size, buying a suitable windshield wiper replacement is as easy as choosing which brand suits you. Remember, while performance parts might be more expensive, often they have longer operating lives, too. That can save you money in the end.
